
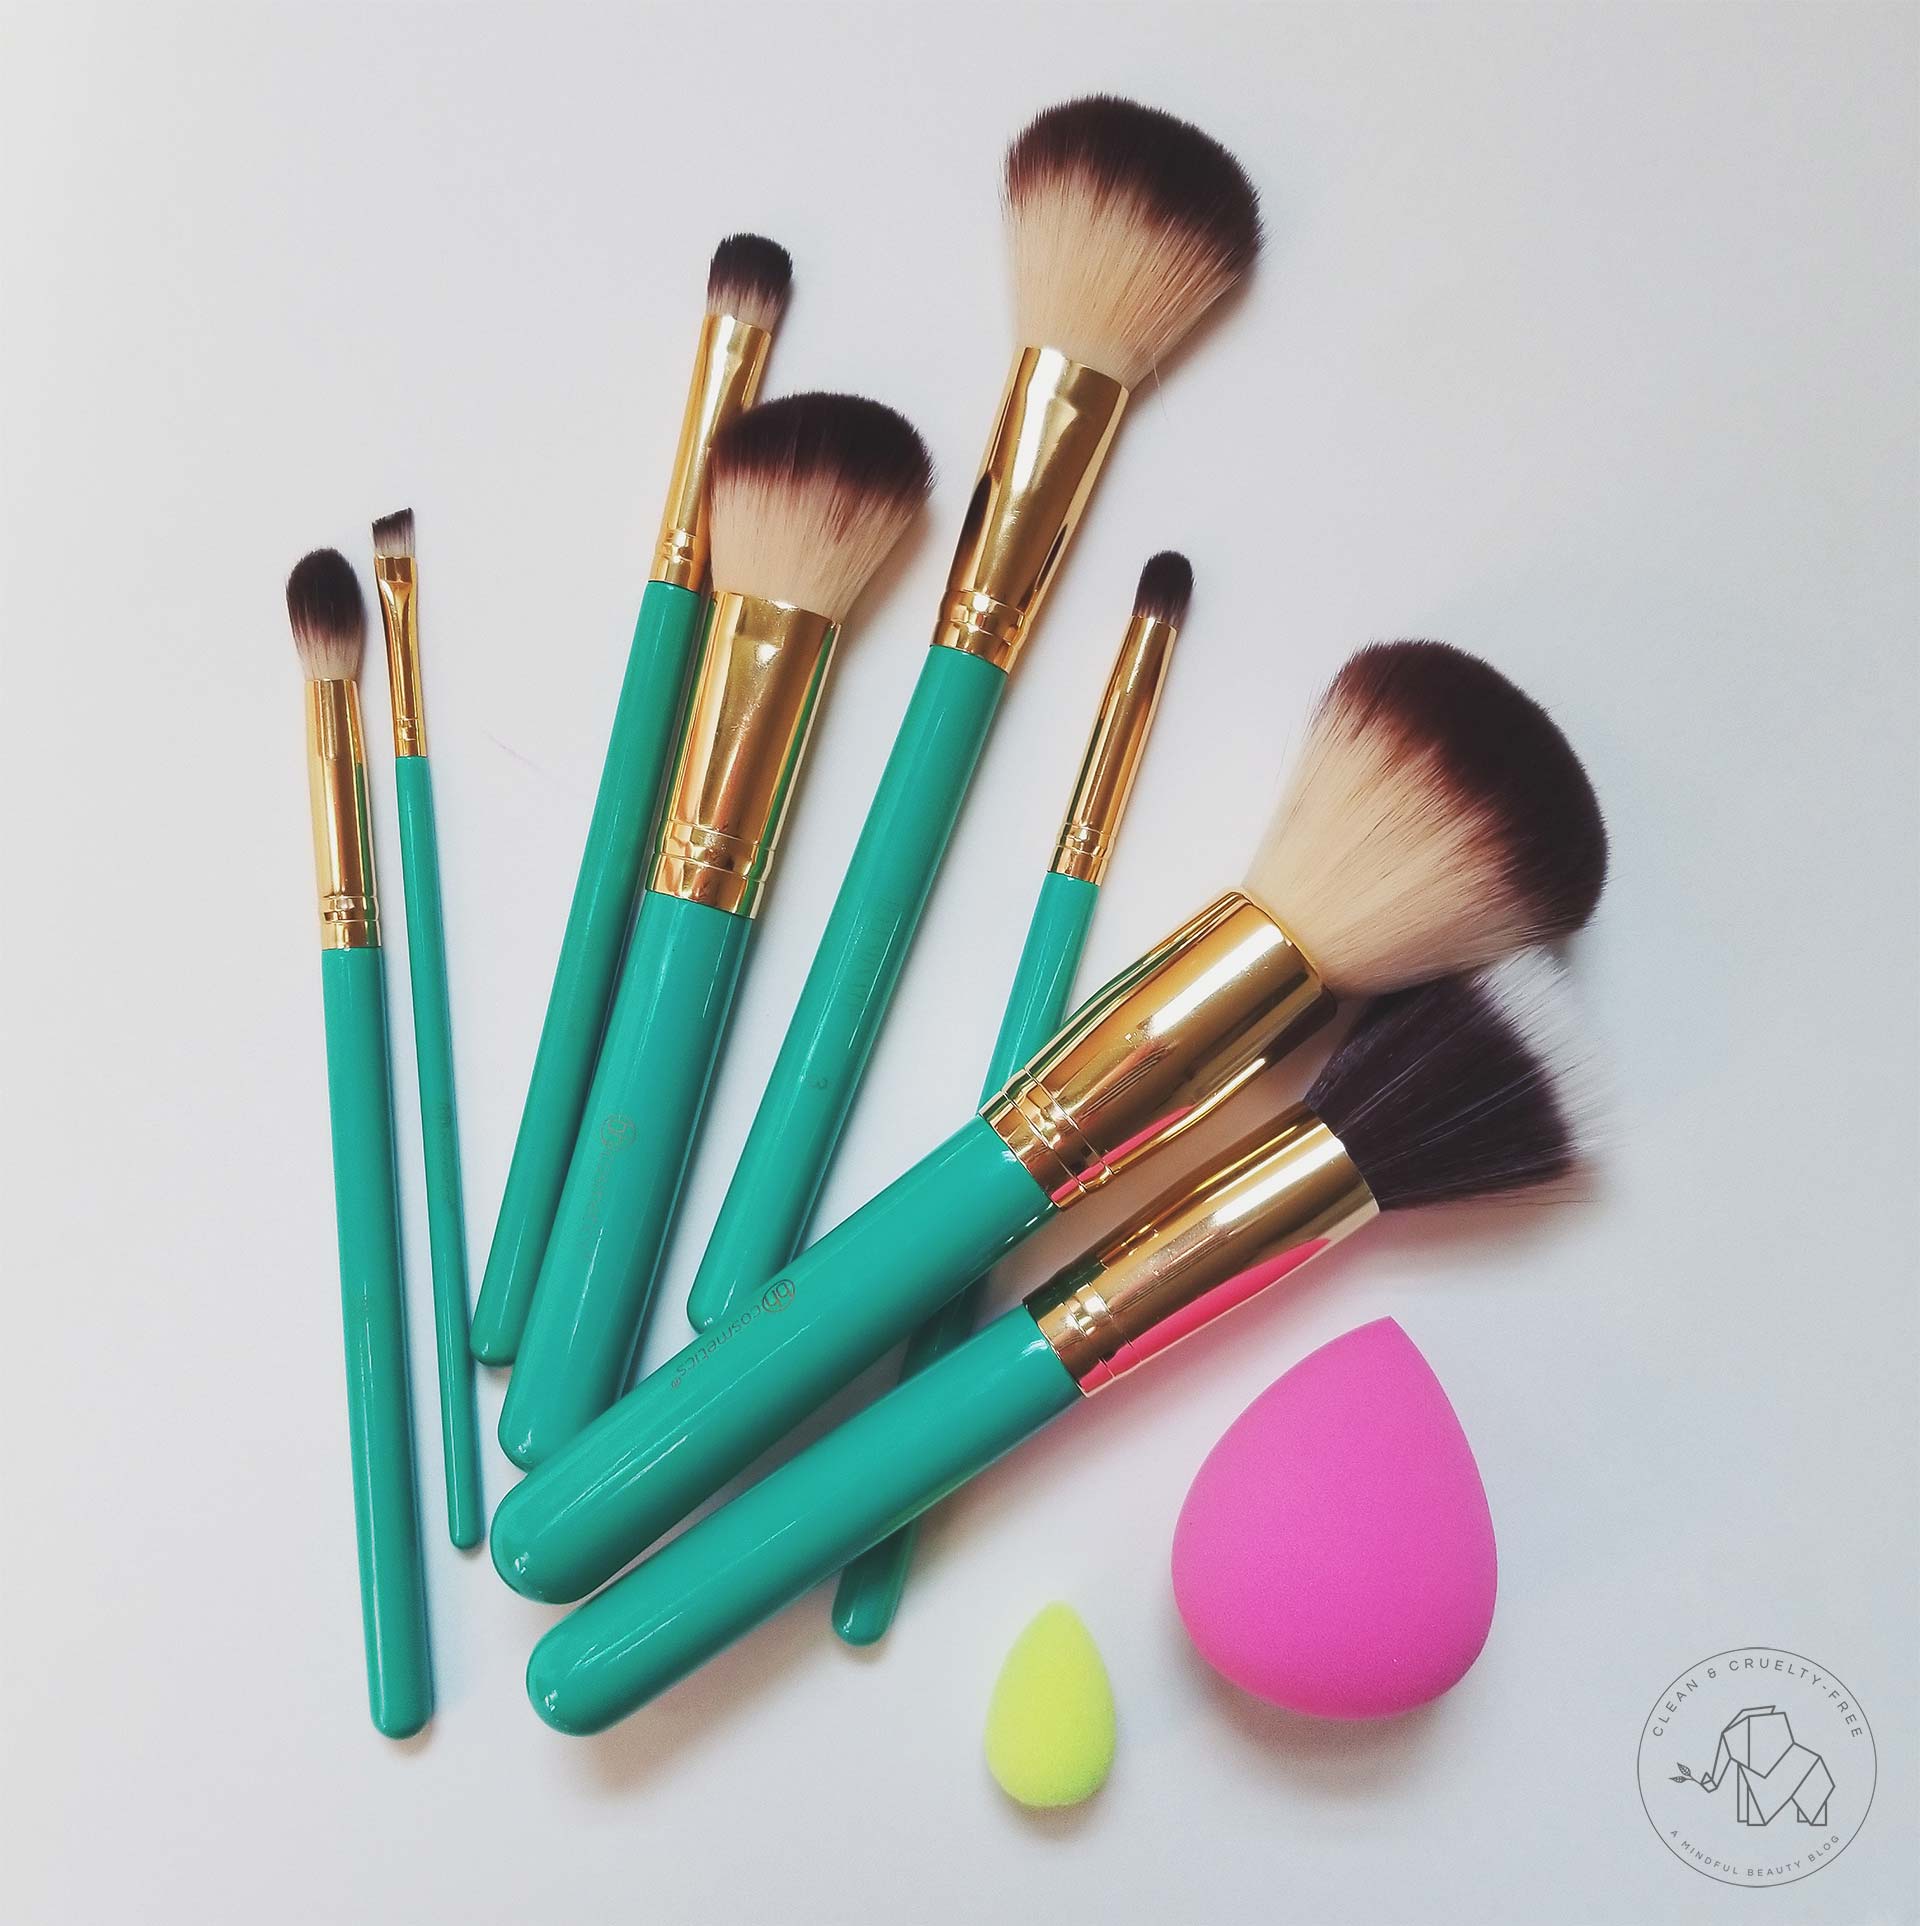
How to Clean Makeup Brushes
Regularly cleaning your makeup brushes is essential, especially if you use them daily. Dirty brushes can become breeding grounds for germs, bacteria, dead skin, and dust, which may lead to infections, irritation, and blemishes if left unsanitized.
There are two methods for cleaning makeup brushes: spot cleaning and deep cleaning. For personal use, deep cleaning every 1-2 weeks is sufficient, while spot cleaning should ideally be done after each use.
What is Spot Cleaning?
Spot cleaning is a quick way to remove product, oil, and bacteria from the bristles of the brush without getting it completely wet. The brush can be used shortly after it has been spot cleaned, making it ideal for daily use.
What is Deep Cleaning?
Deep cleaning sanitizes the entire makeup brush, from bristle to handle. Because it involves getting the bristles wet, deeply cleaned brushes need to dry overnight.
How to Spot Clean Makeup Brushes
You can spot-clean your makeup brushes after each use by using a quick-drying brush cleaner. This will not remove all of the product from the brush, but it will disinfect the bristles. *Due to their high alcohol content, quick-dry cleaners are not advisable for daily use with natural hair brushes.
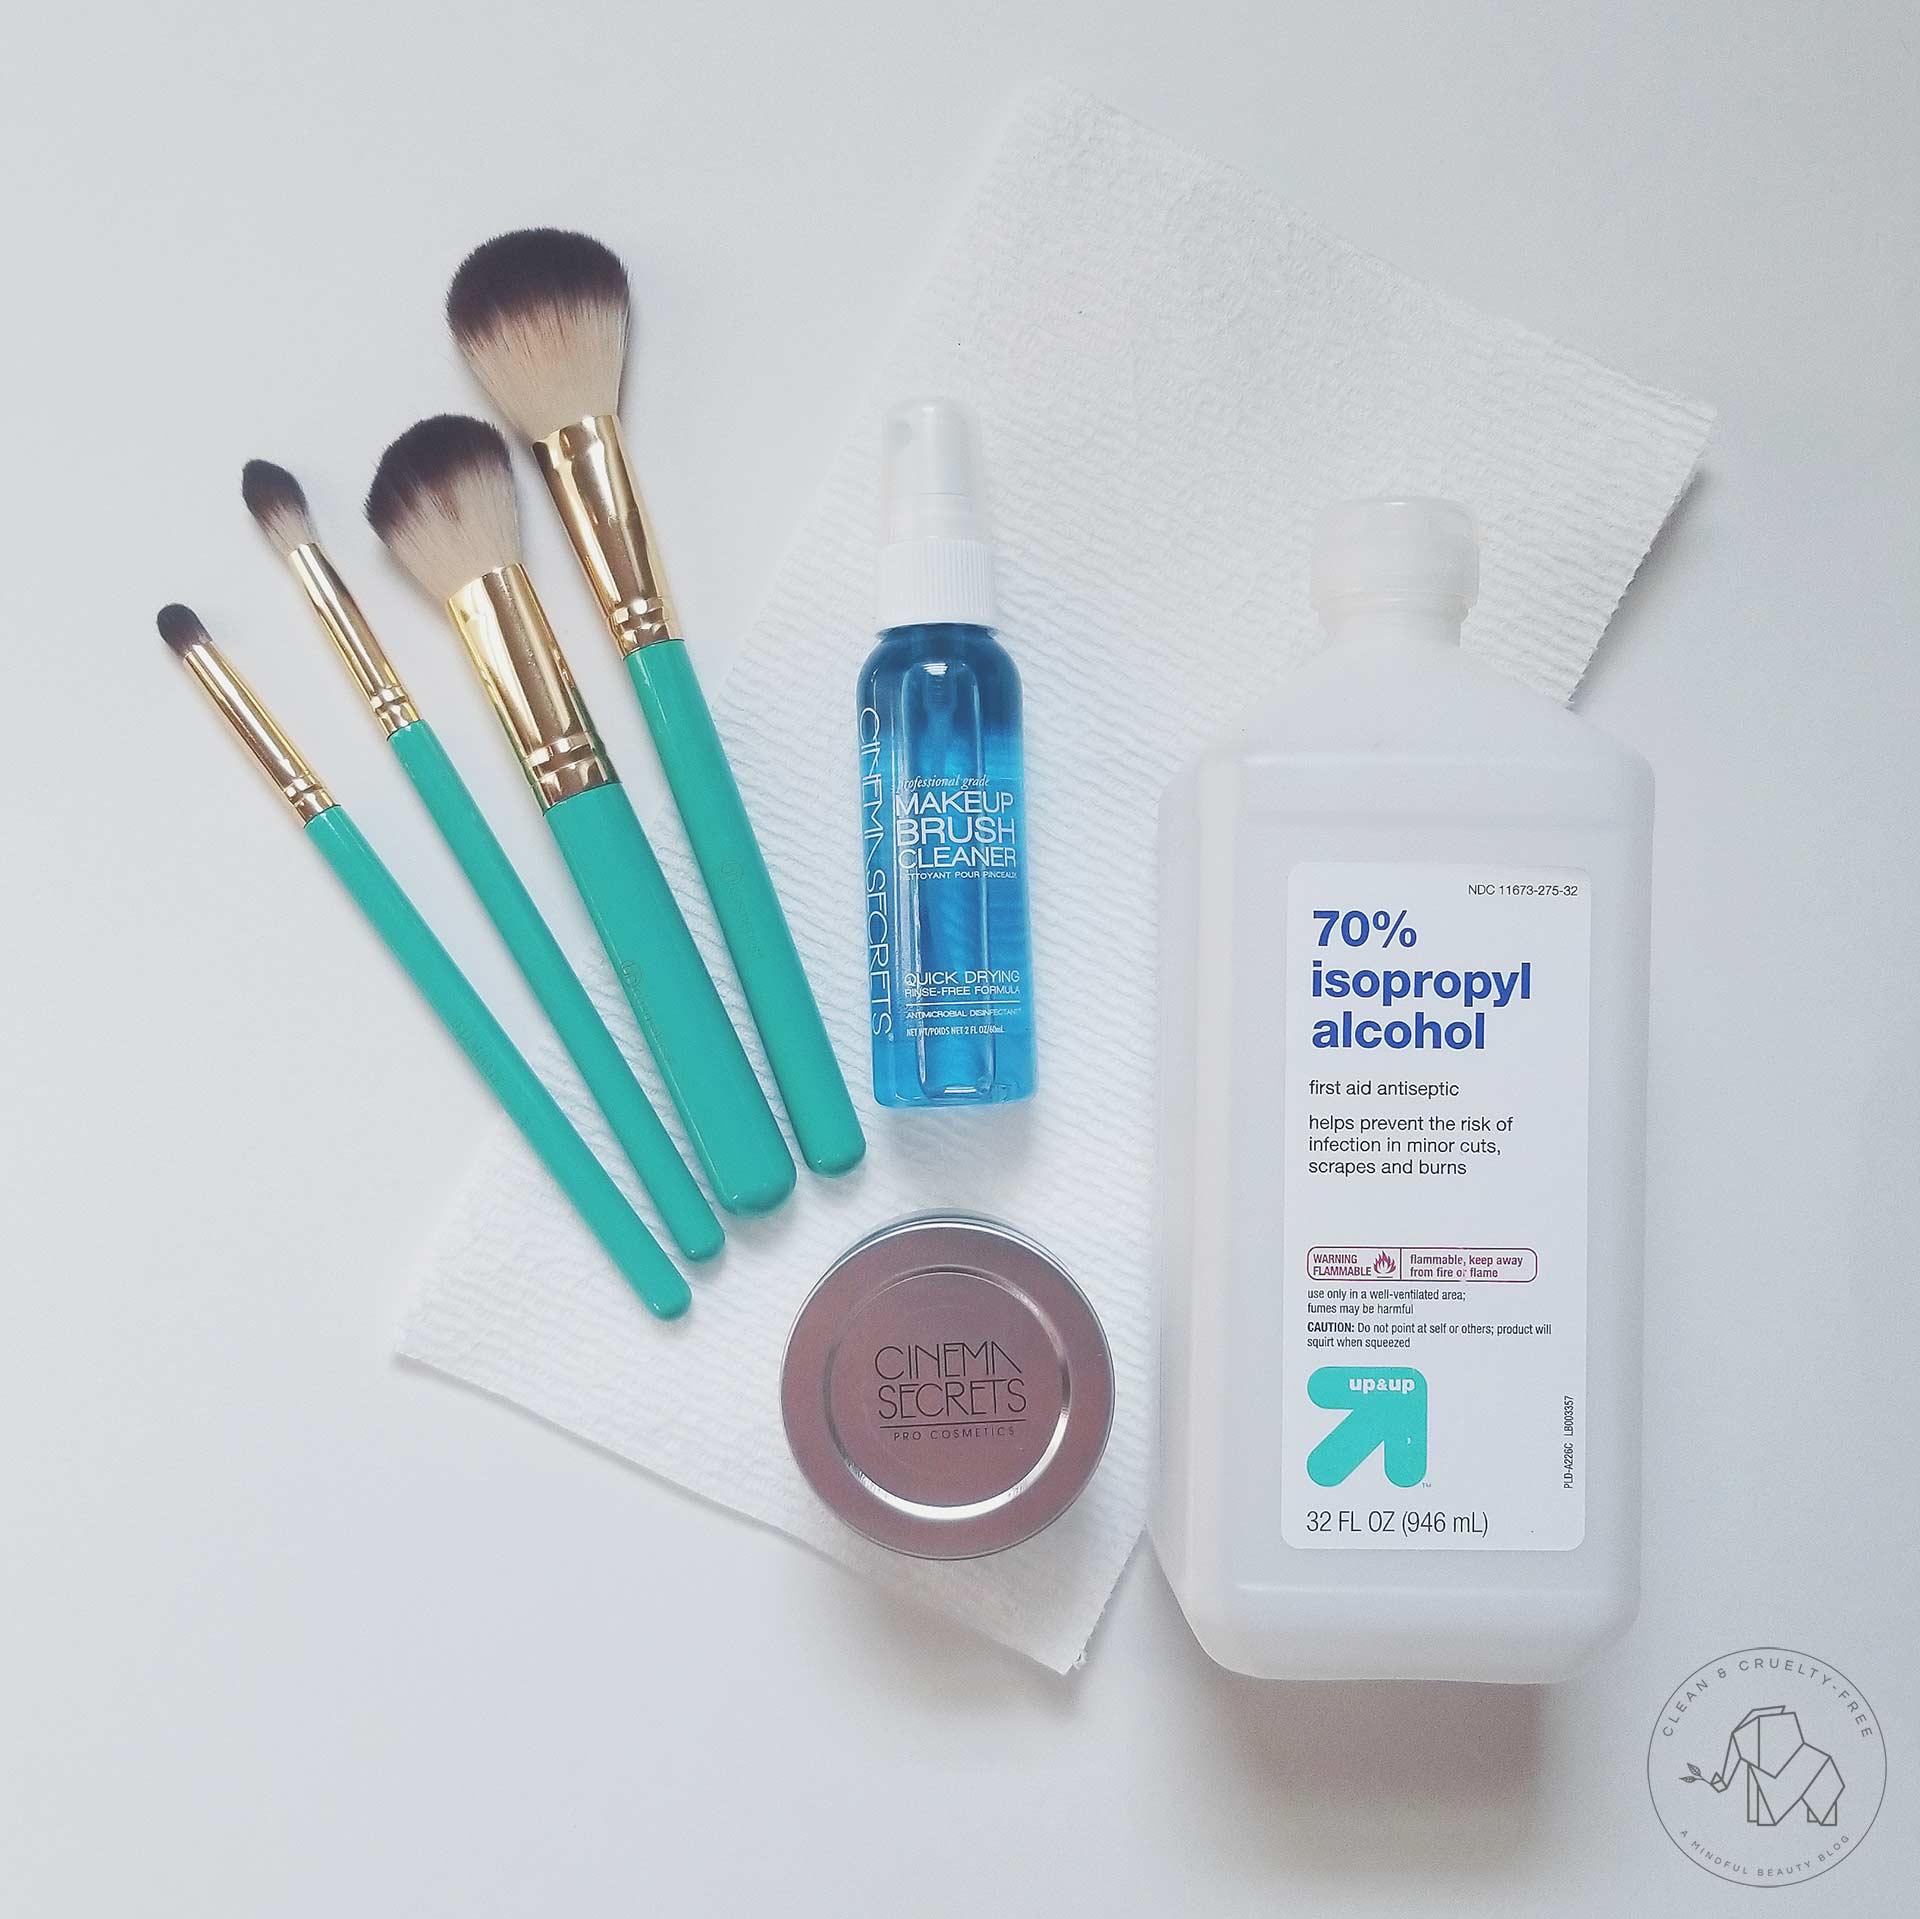
What You’ll Need:
- A Quick-Drying Brush Cleaner, such as Cinema Secrets or Jane Iredale Botanical Brush Cleaner
- Paper Towel
- Rubbing Alcohol (70%) (optional)
Instructions:
- Gather all dirty brushes, paper towel, and quick-dry brush cleaner. If you’d like to clean the ferrule and handle of your brush, feel free also to grab some 70% rubbing alcohol.
- Lay out a sheet or two of paper towel on a clean, flat surface.
- Spray or dip the dirty bristles of each brush into the quick-dry cleaning mix, keeping it low and out of the brush’s ferrule (where the glue is).
- Swirl the dirty brush in light circular motions onto a clean sheet of paper towel until the color no longer transfers.
- Set your brushes on a clean paper towel for a few minutes, until dry.
- Optional: If you’d like to also clean the handle of the brush you can wipe it down with a clean paper towel and 70% rubbing alcohol.
How to Deep Clean Makeup Brushes
Makeup brushes should be deep cleaned every 1-2 weeks, depending on how frequently you’re using them. It’s best to deep clean your brushes after you’re done with your makeup application for the day, as the brushes will be wet and need to dry overnight.
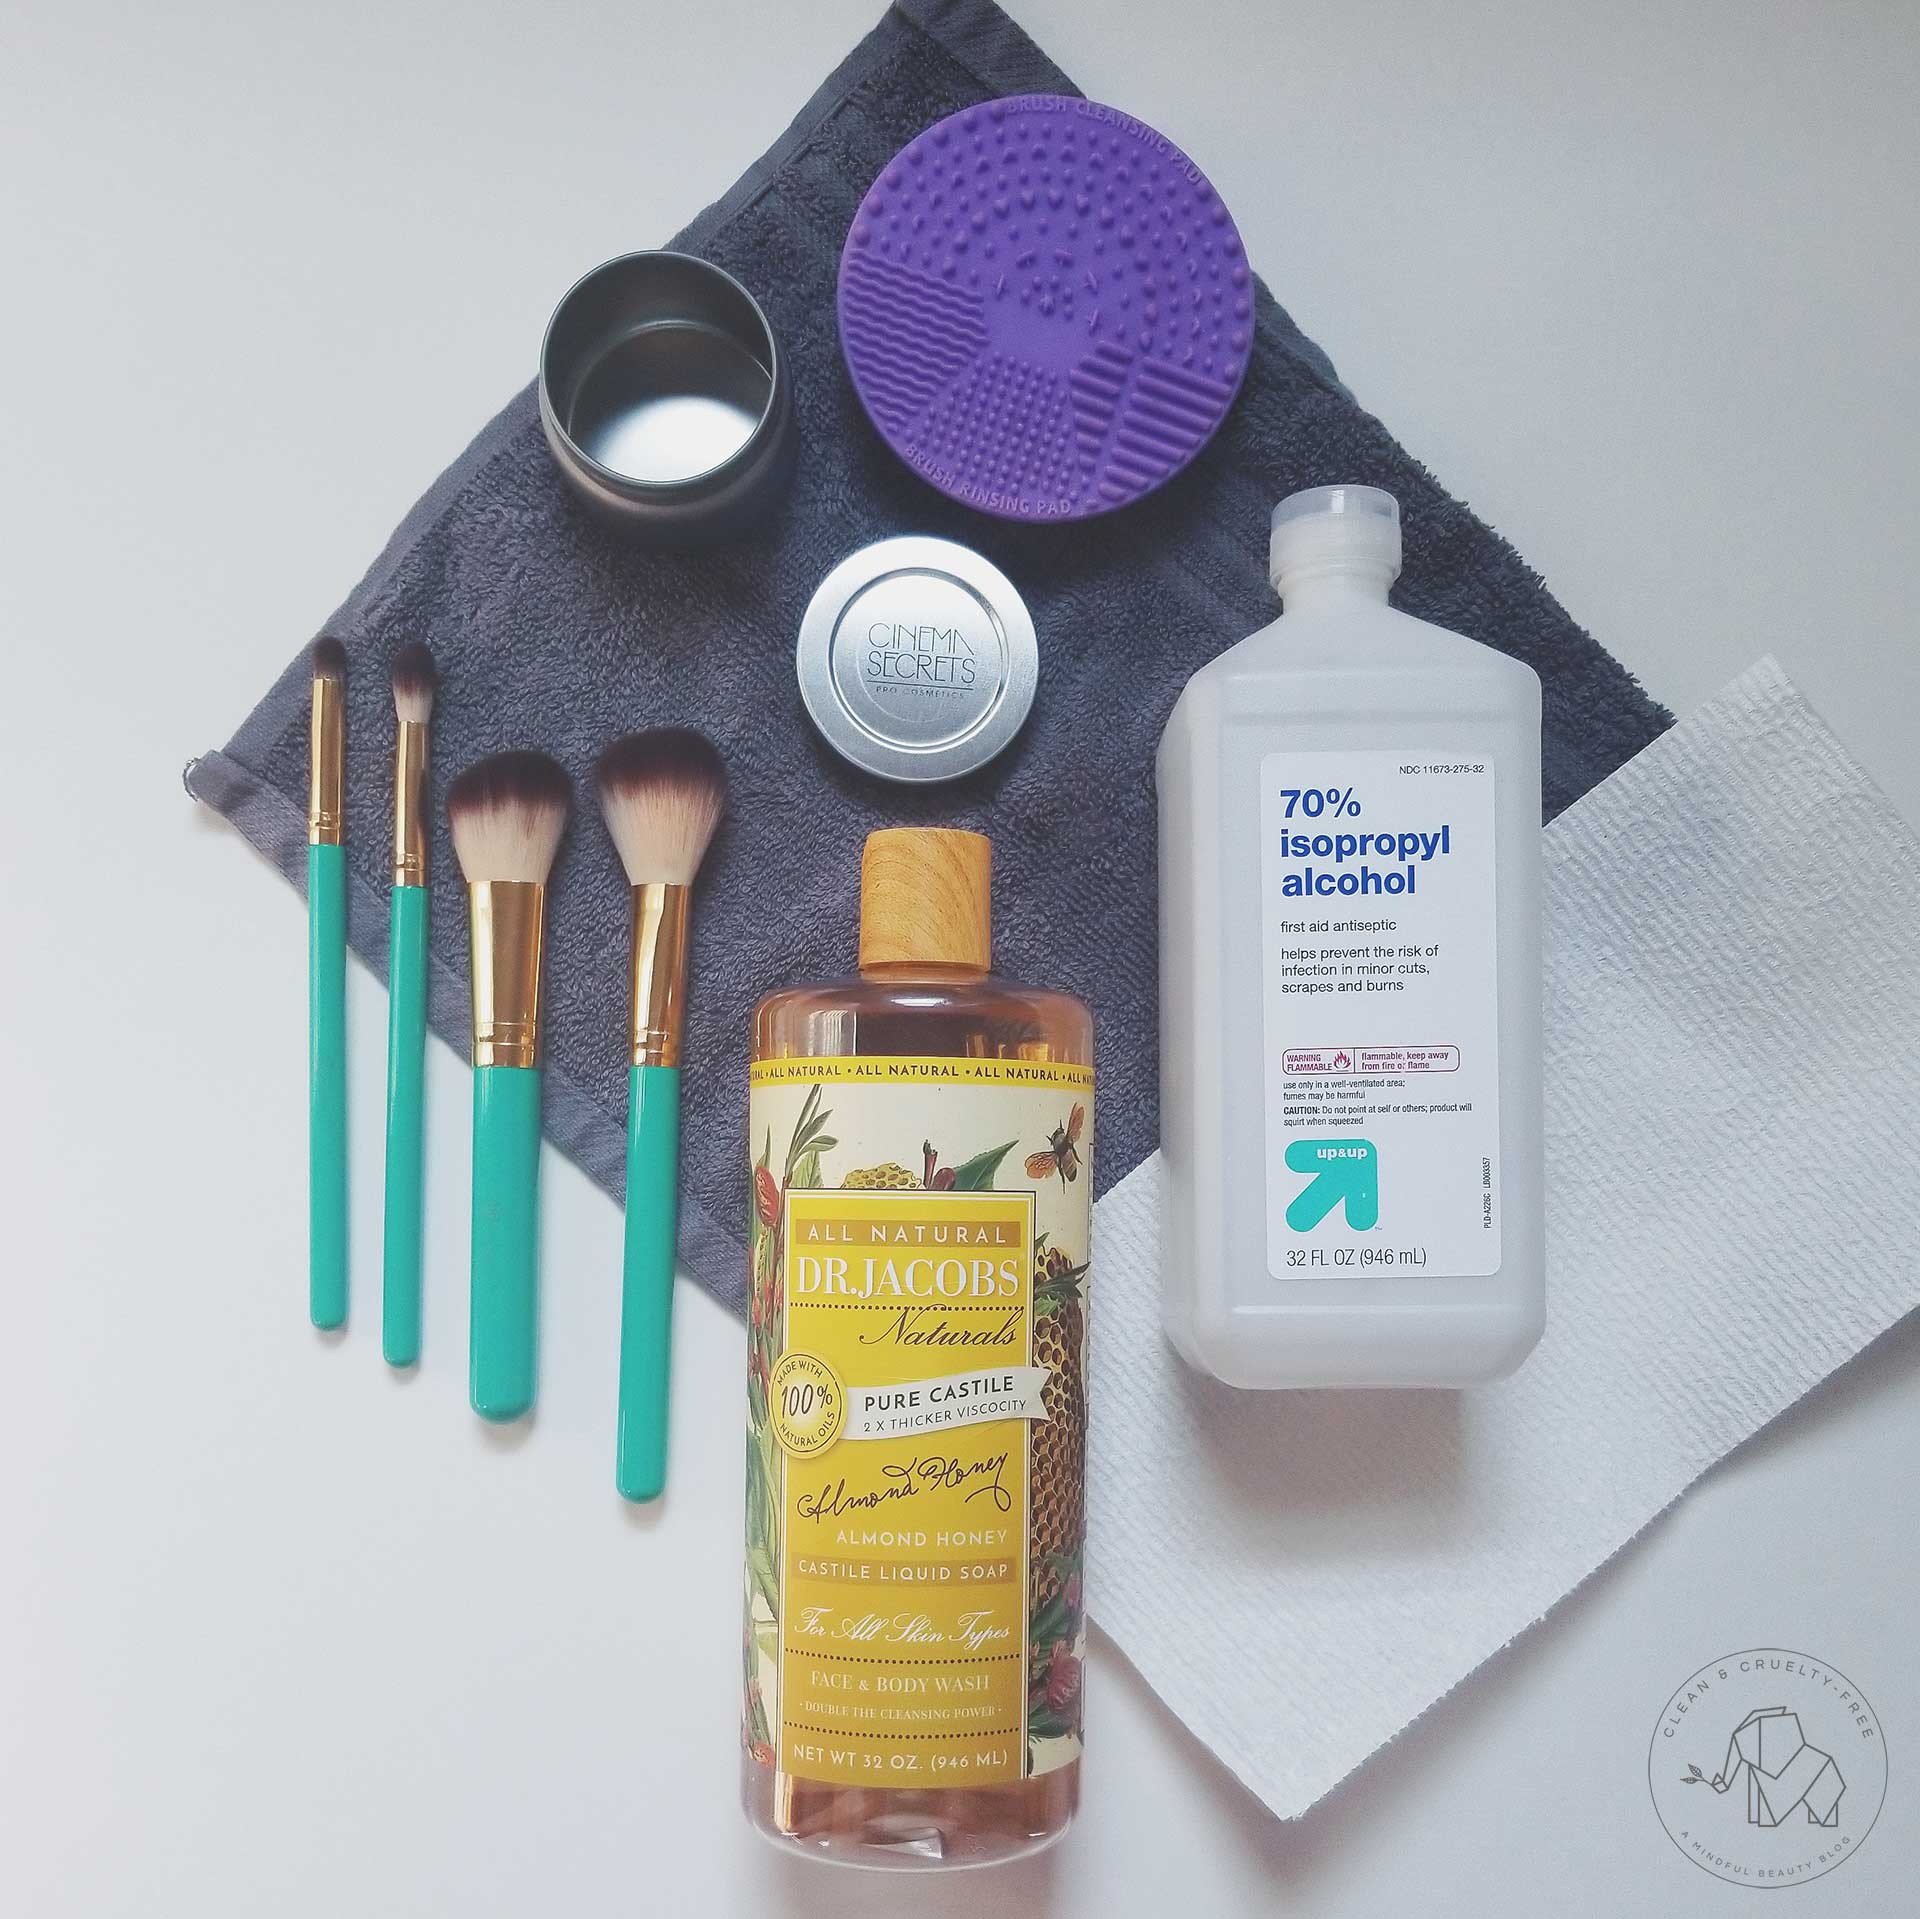
What You’ll Need:
- Dr. Bronners Castille Soap (or any non-toxic soap made for cleaning brushes)
- Rubbing Alcohol (70%)
- A Bowl OR Textured Brush Cleaning Pad
- A Clean Towel
- Paper Towel
Instructions:
- Gather all your dirty brushes, 70% rubbing alcohol, Castille soap/makeup brush soap, and a clean bowl OR makeup brush cleaning pad.
- Lay out a clean towel next to your sink. Set 1-2 sheets of paper towel down on the opposite side of the sink and place the dirty brushes on them.
- If you’ll be using a bowl, fill it with a few drops of soap and warm water. If you’re using a brush cleaning pad, set it inside the sink and get it wet (make sure it’s been sanitized since the previous use).
- Grab a dirty brush and get the bristles wet by either dipping it into the bowl of soapy water or by setting it in your palm with runoff water from the faucet. Do not let the water go too high up the brush (it softens the glue that holds the bristles in place).
- Once wet, gently swirl the dirty brush in either the soapy water bowl or against the textured brush cleaner with a drop of soap.
- Rinse the brush under clean runoff water in your palm, and repeat
- Gently swirl the brush until the water runs clear. Rinse once more under clean runoff water in your palm until all soap is removed.
- Gently squeeze out the excess water from the bristles. Set the brush aside on the clean towel and move on to the next brush until all are clean.
- Once all brushes have been washed, grab some clean paper towel and 70% rubbing alcohol and wipe down the brush handles of each brush (be sure to get the ferrule as well).
- Set the brush back down on the towel and allow it to dry naturally overnight.
Pro Tips
- If water gets too high up the brush, let it dry upside down to avoid damaging the glue.
- For natural-haired brushes, consider conditioning them using Castille soap or a few drops of olive oil with your soap.
- Treat your brushes gently to maintain their quality and longevity. You don’t need to swirl or push hard to get a good clean.
How to Clean Beauty Sponges
Just like makeup brushes, beauty sponges also need to be cleaned, even though their lifespan is shorter.
What You’ll Need:
- Dr. Bronners Castille Soap (or any non-toxic soap made for cleaning brushes/sponges)
- Water (sink with running water)
Instructions:
- Run the sponge under lukewarm water and squeeze it until it enlarges. Repeat this step a few times.
- Lather the wet sponge with non-toxic soap and roll it between your hands to spread the soap.
- Rinse the sponge under running water until it runs clear. You may need to repeat step 2 a few times for this to happen.
- Squeeze out excess water and air dry the sponge overnight.
When to Replace Makeup Brushes and Sponges:
- Replace brushes when they start losing bristles regularly or lose their shape (typically after 3-5 years).
- Replace beauty sponges every 1-3 months, or if they show signs of mold, tears, or permanent discoloration.
This guide may contain affiliate links. All opinions are our own, and this post is not sponsored. Consult a medical professional for specific advice. Nothing stated above should replace professional medical guidance.